That's caused by the fresnel lens. Its a cheap plastic one that I picked up at a craft store.
I have photos to share:
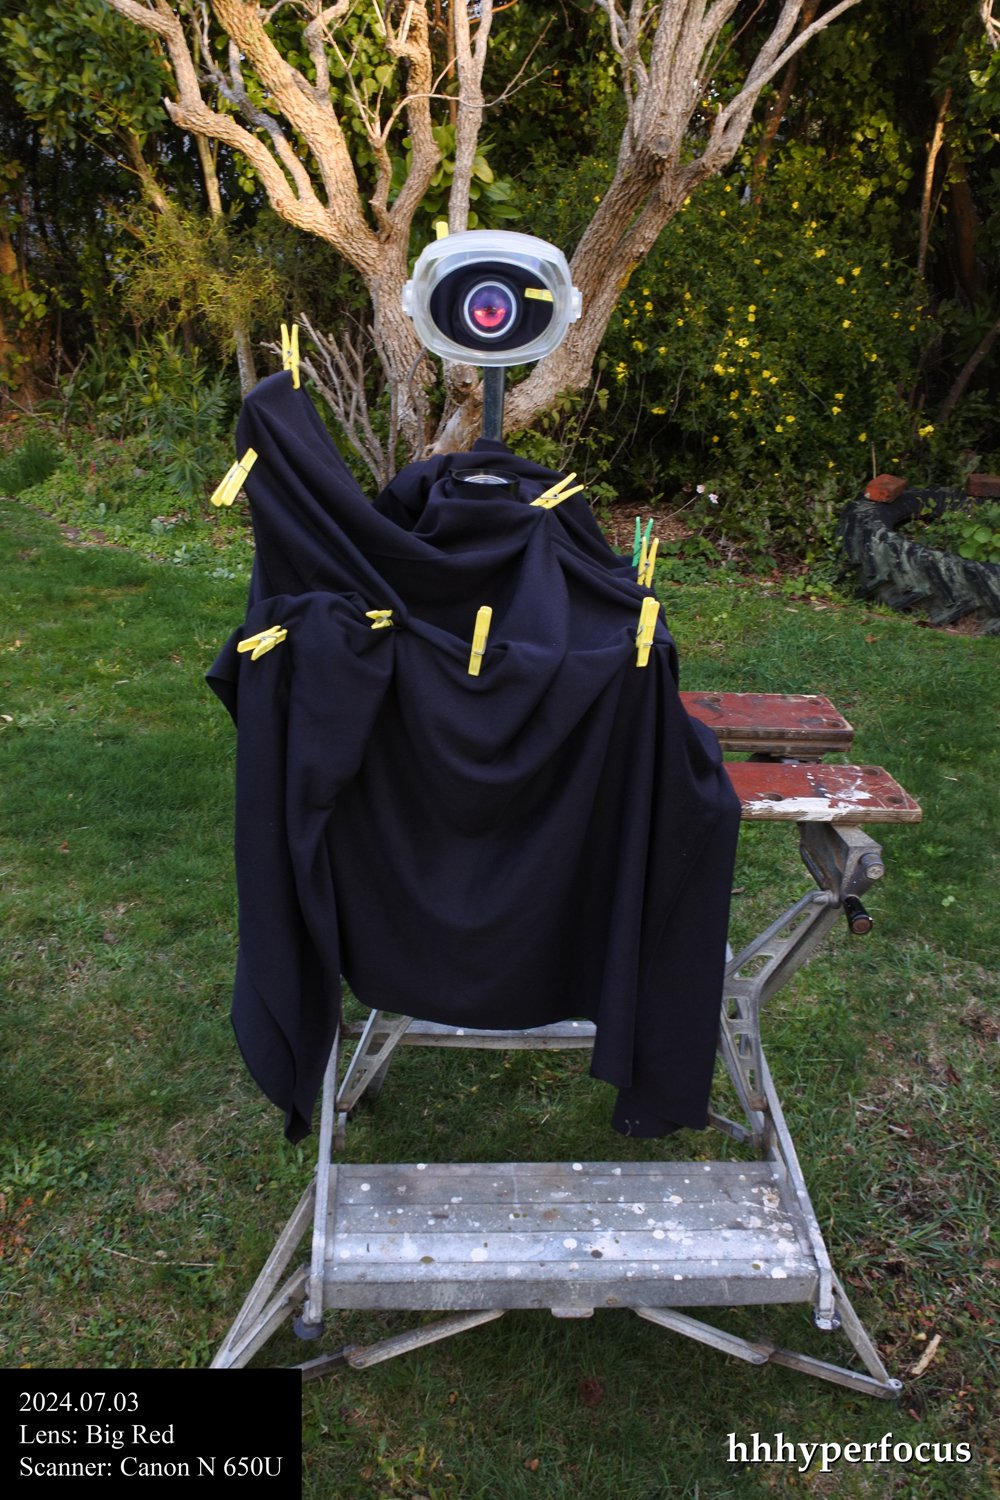

---=== About the rig ===---
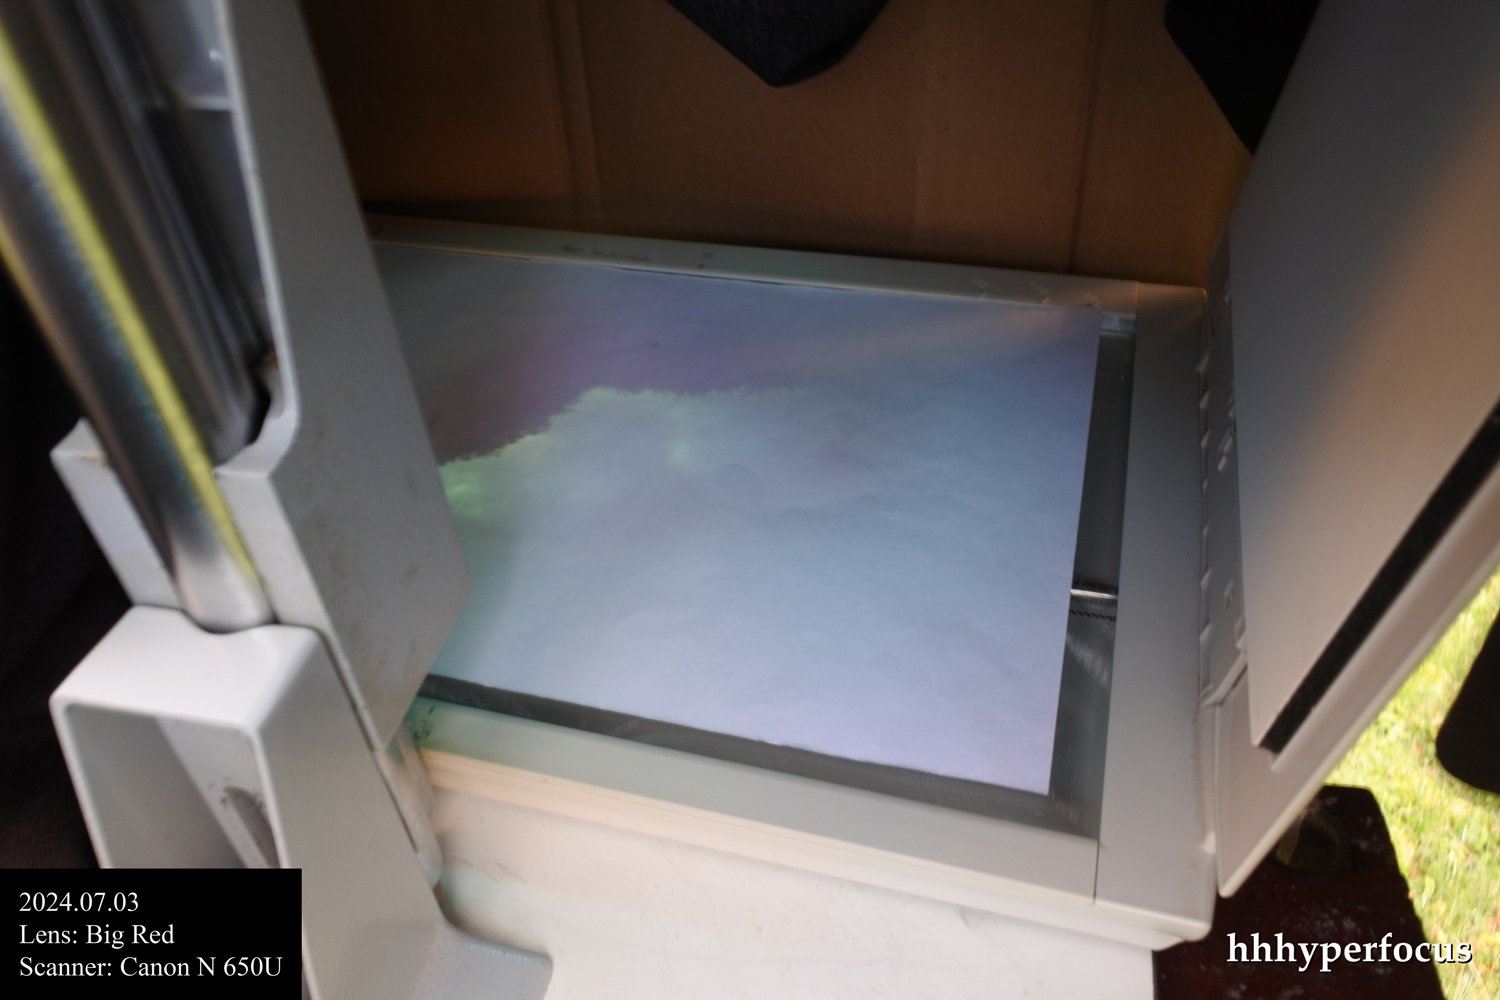
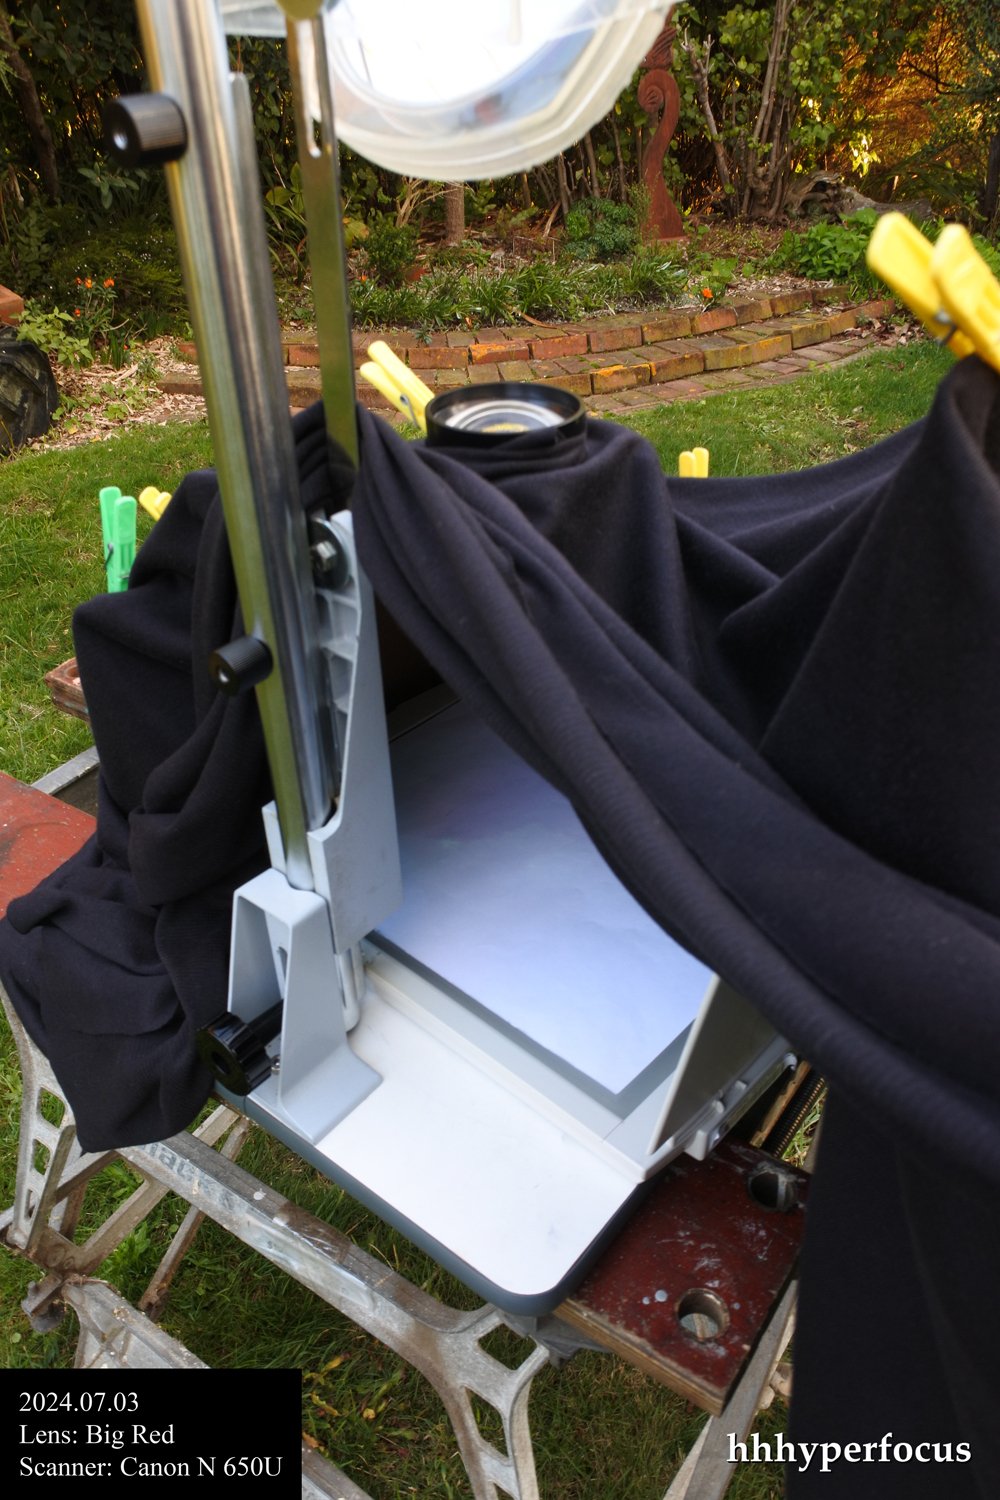
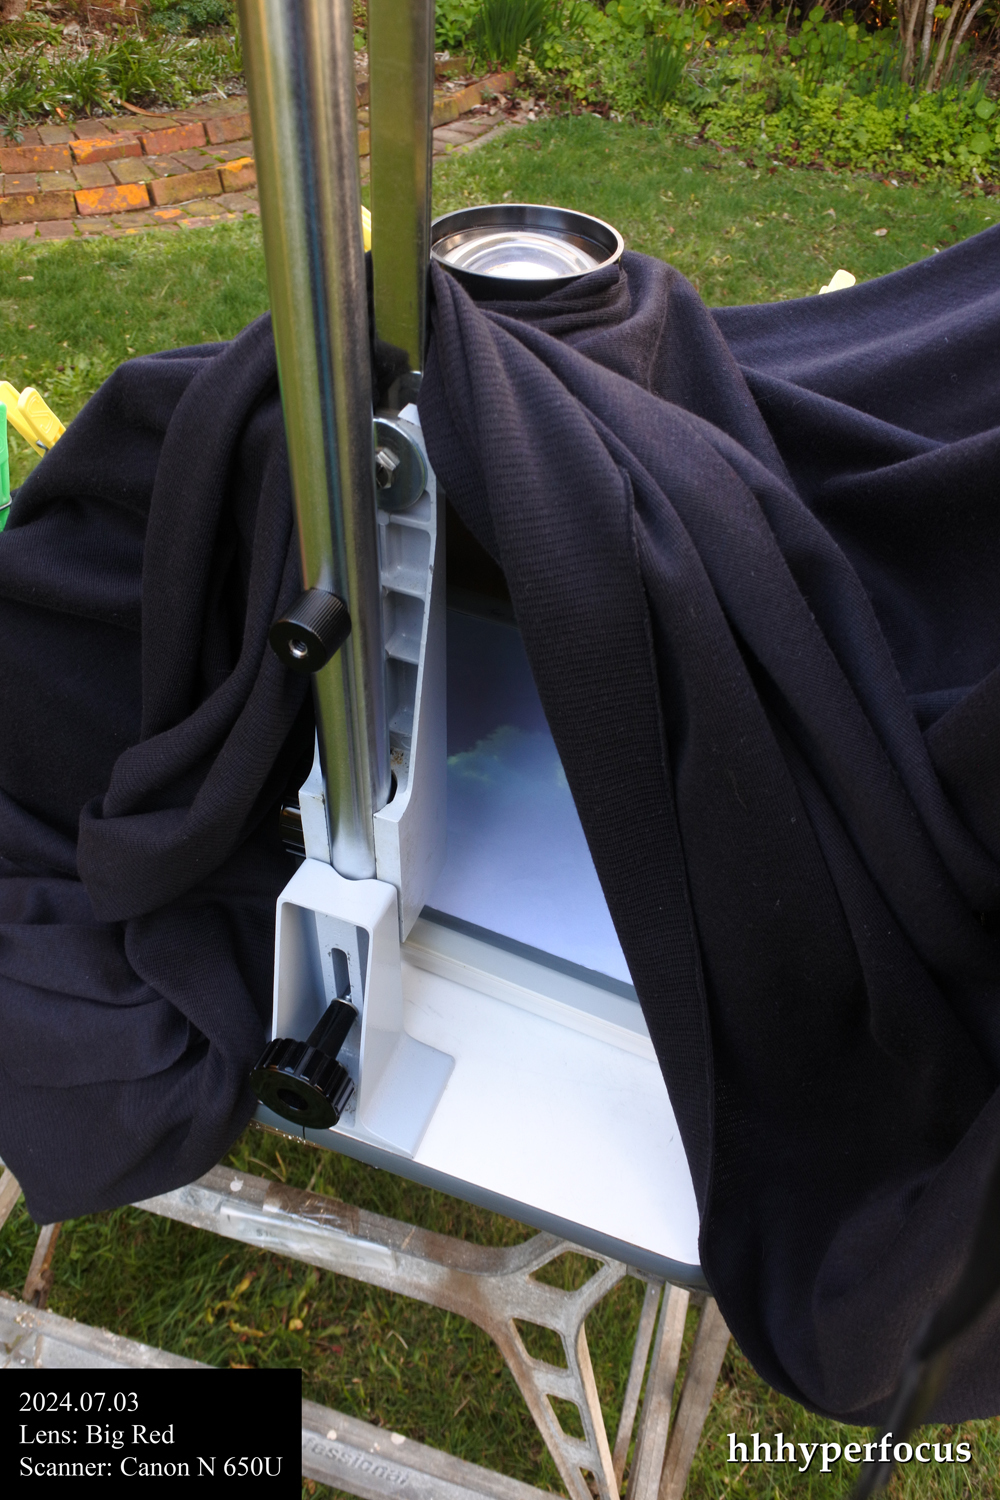
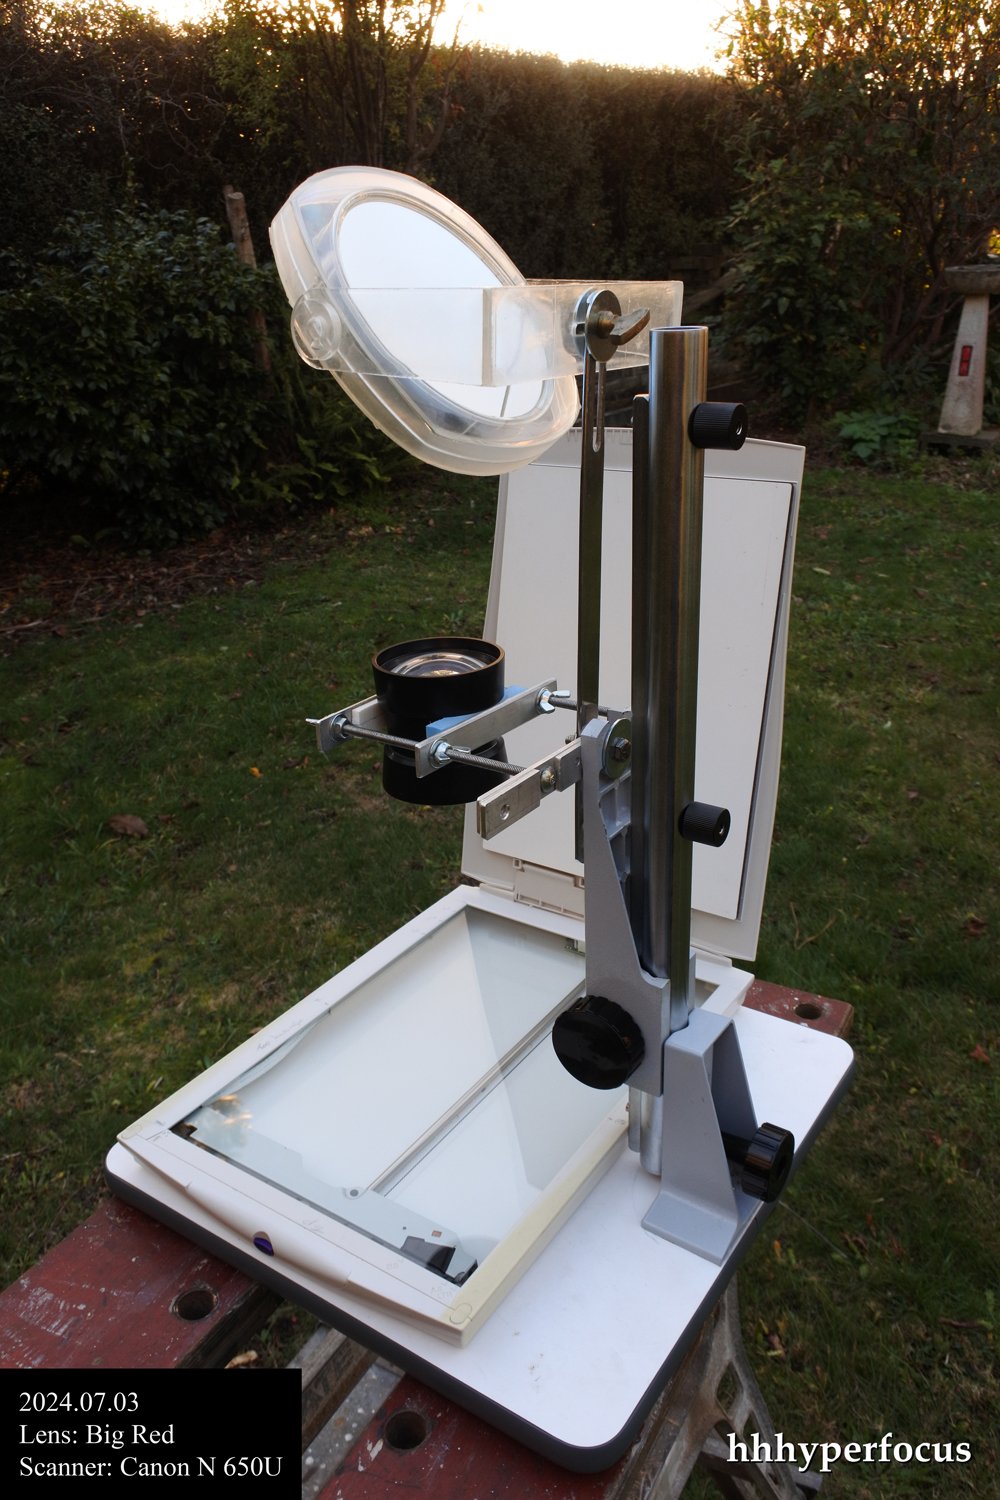
I'm using the vertical slider from an old enlarging machine to mount the lens on, because it lets me set the focus. I put a sheet of paper on the glass to focus on, then I remove the paper to capture the image. There's a small gap between the sensor and the glass, so it's not perfect.
And since the lens points straight up, there's a mirror on top which can point to any direction. It looks like a cheap nasty plastic mirror, but the glass is very good quality.
I've looked into modifying the scanner, but it's very challenging. I got as far a lifting the scanner head off the monorail before just putting it all back together. I've since picked up another scanner which I intend to modify. It's much older, so I won't feel bad if I accidentally destroy it.
---=== About lenses ===---
I used two lenses for these photos.
The first one is a 178mm/1.9 Kaylee Bloomed Projection Lens. The front element is 94mm in diameter. I believe it was designed to project from 70mm movie film. Someone has written the label "Cinemascope #2" on the side. I assume whoever wrote that knew what they were doing. When I bid on the auction, I was hoping it would be an anamorphic lens. It isn't, but it is still a very special lens that I'm trying to make use of. Originally I built an adapter to fit my 5d mark1, which works very well, but the full frame sensor crops out a lot of the original image circle... and most of the swirly bokeh.
So the scanner back idea lets me capture the entire image circle for the first time. Admittedly it's in black and white and, if I crop to a 3:2 frame, 1924x1297px. I'm looking into using a diverging lens to magnify the image circle.
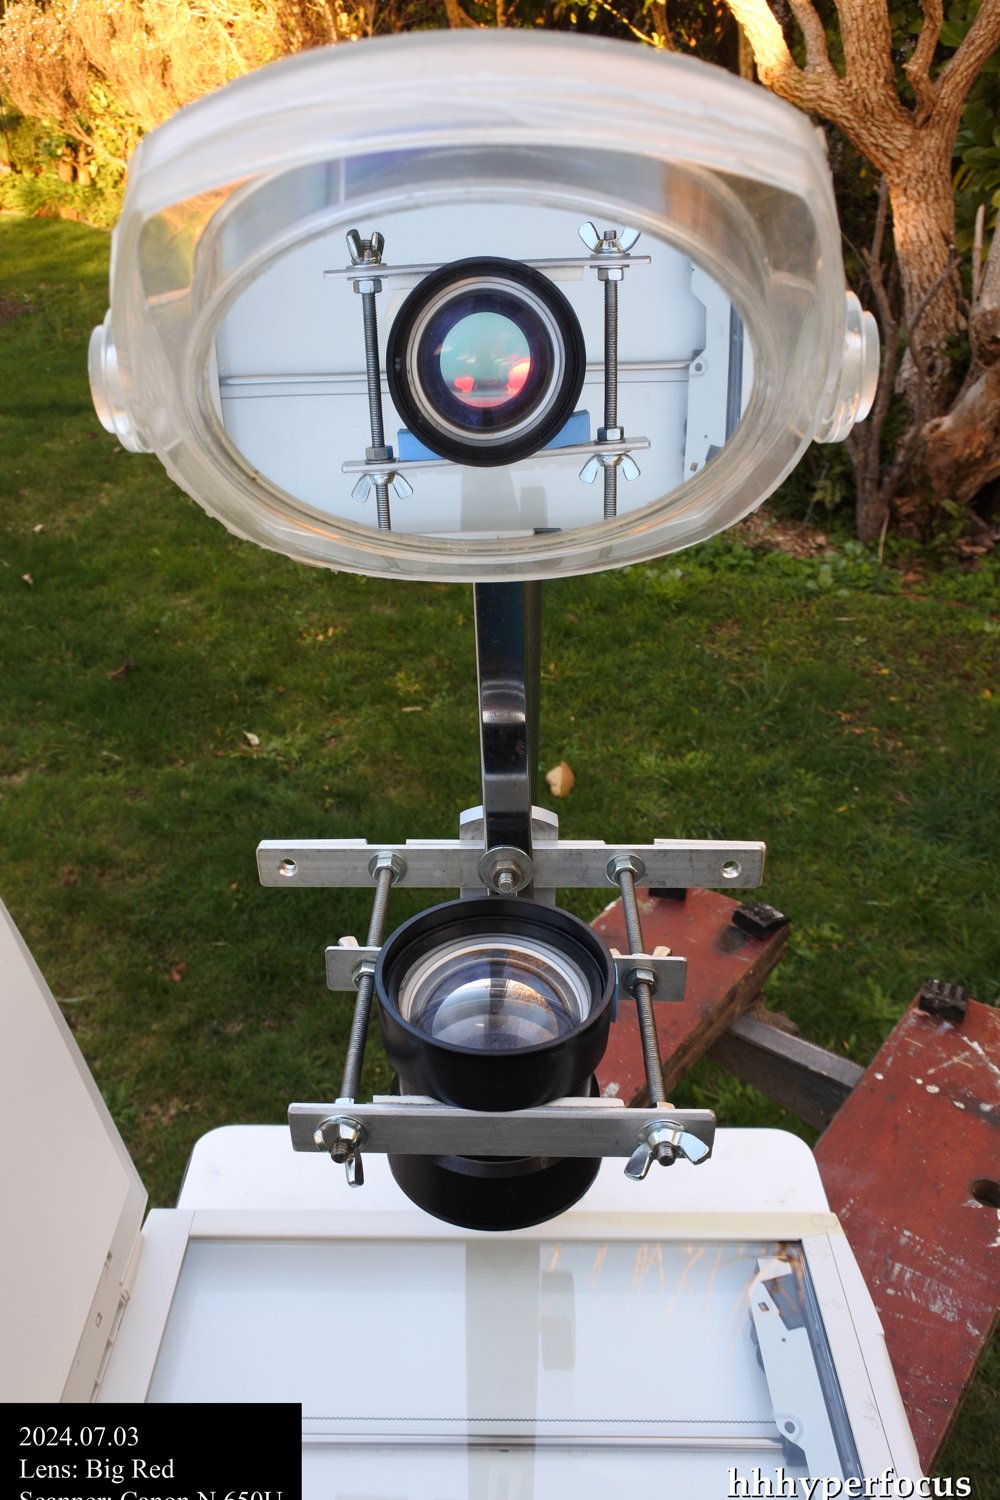
The other lens is some kind of industrial lens that I don't know anything about. I call it Big Red. I measured the focal length at about 200mm, and the image circle is massive. It basically covers the entire A4 scanner. It has a built in green pass filter that reflects red light back out thru the front of the lens which makes me suspect that it's an interference filter, not an absorption filter.
---=== About photos ===---
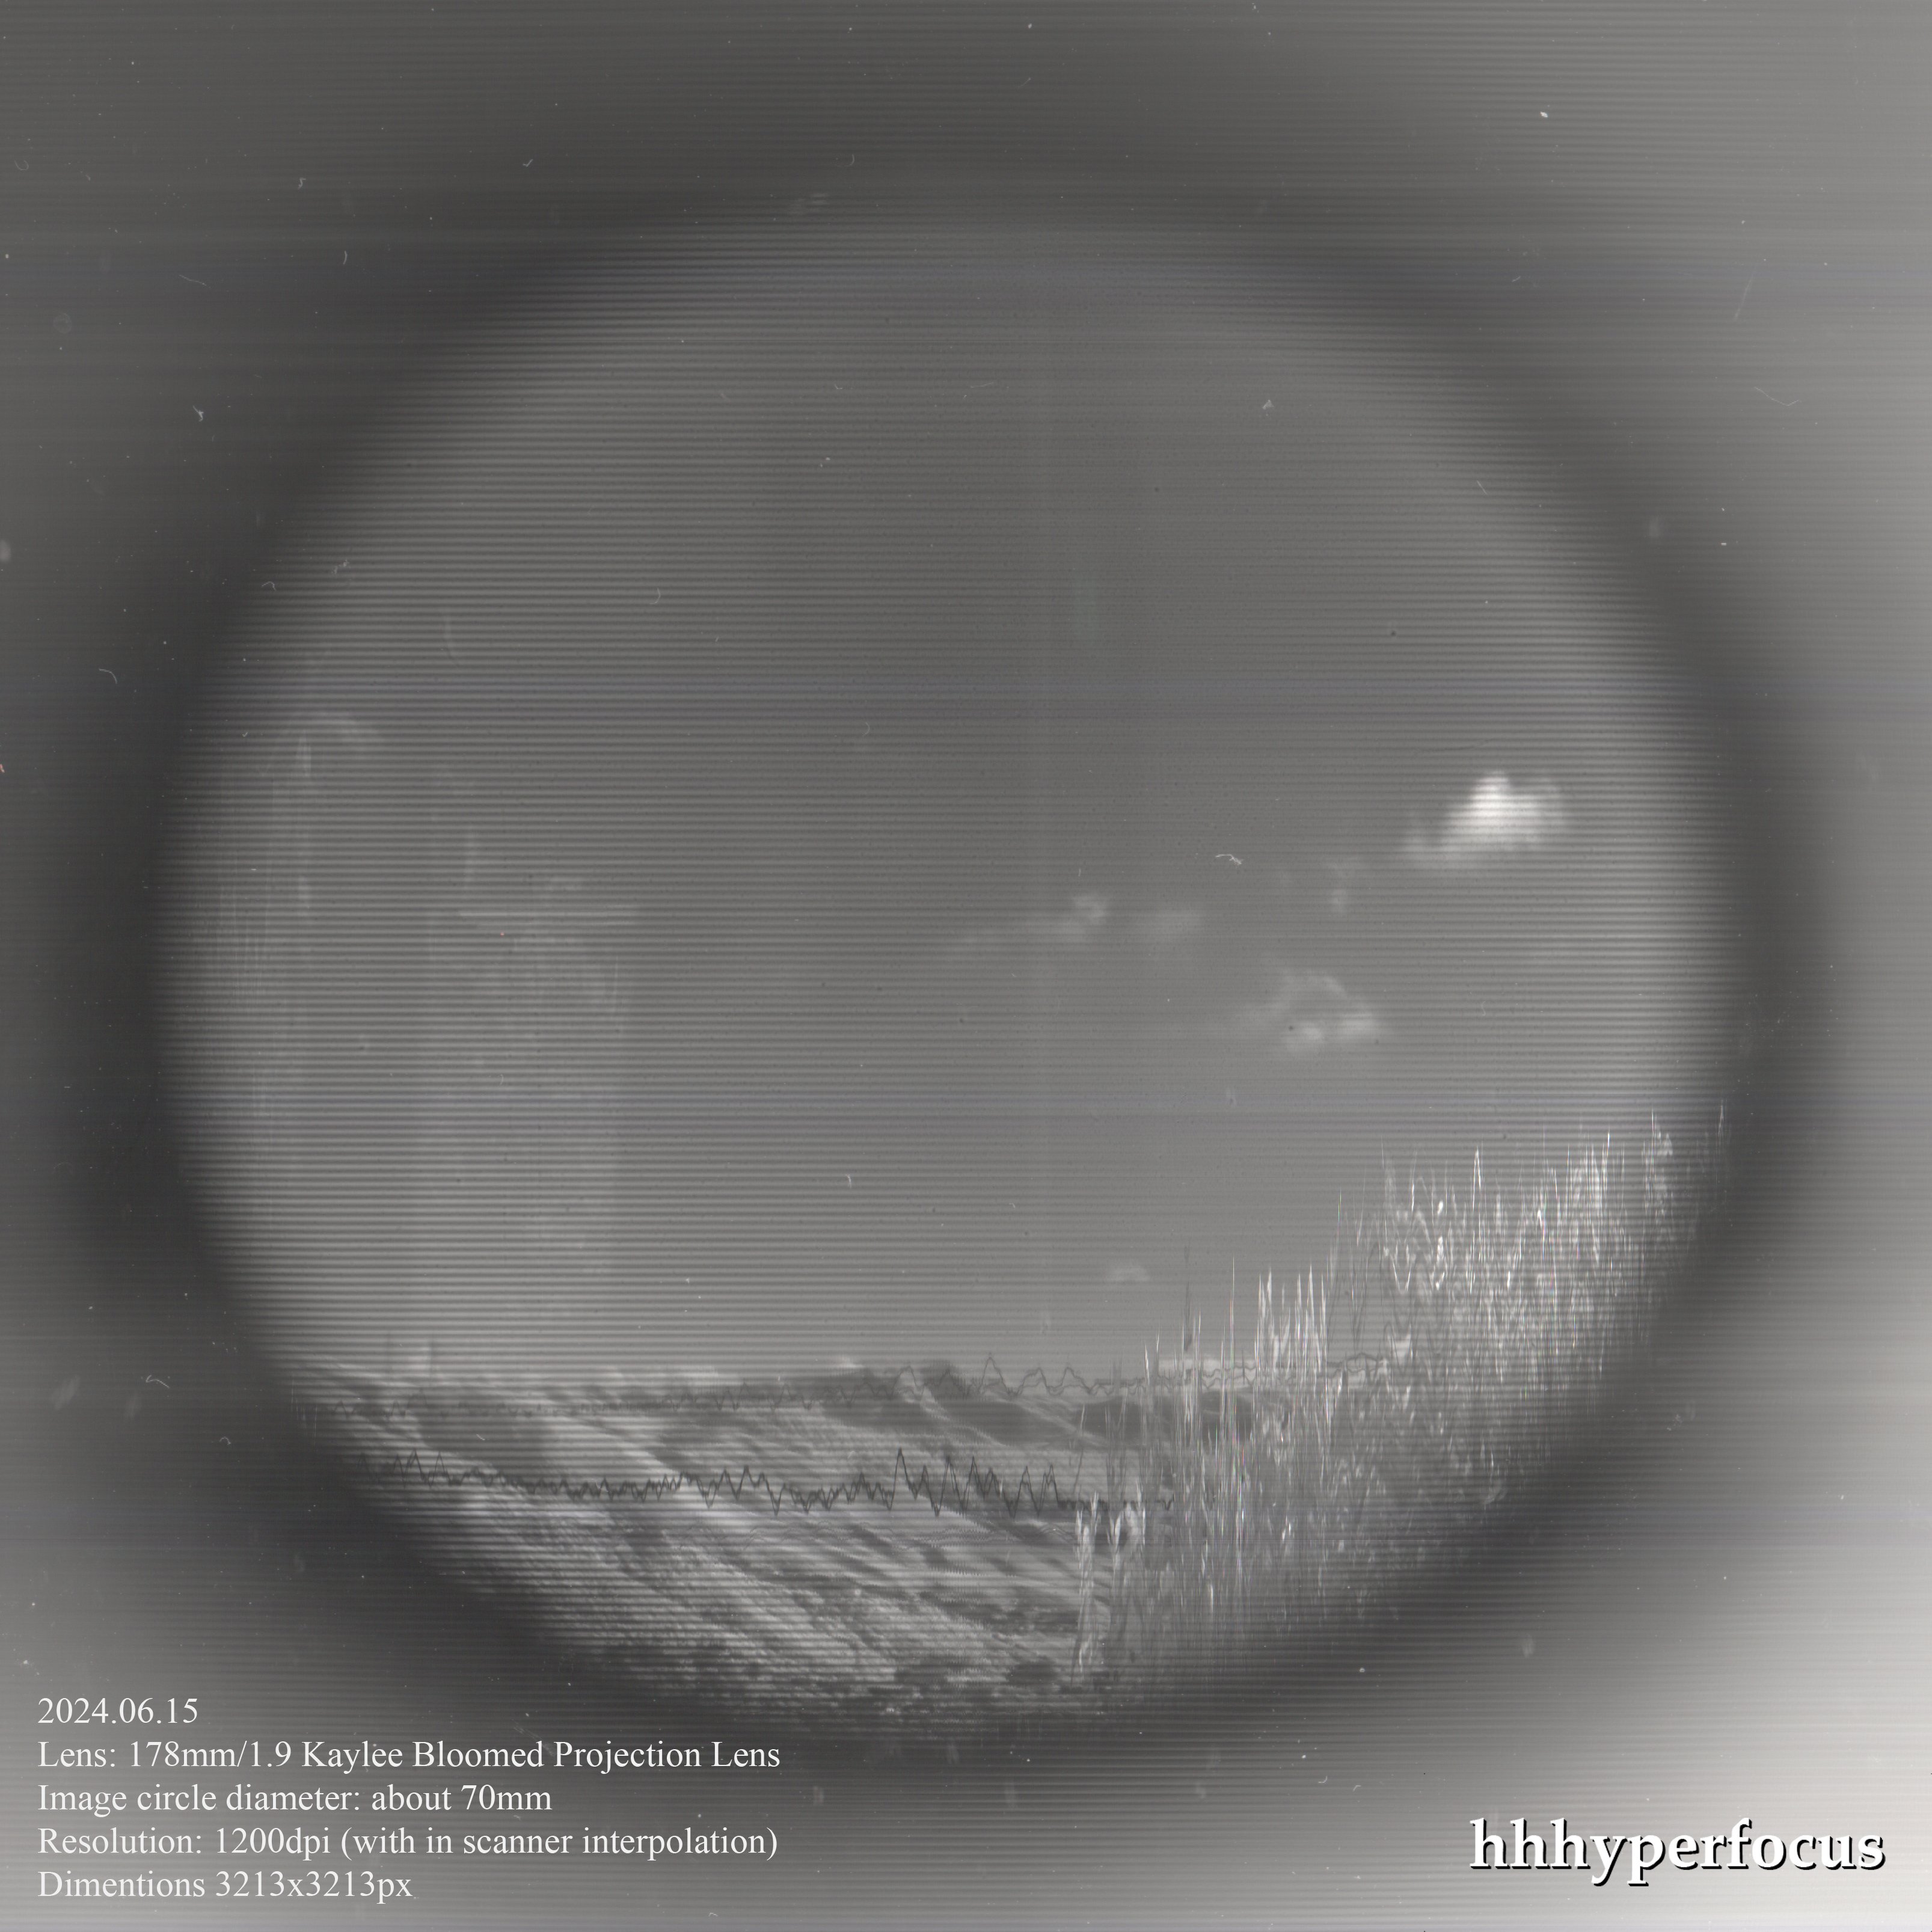
2024.06.15 My first actual photo that wasn't of a ceiling light or a ruler, was taken using the 178mm. I didn't put a lot of thought into it, I was pretty much just testing the waters to see what kind of result I could get. I hadn't even cleaned the scanner glass yet.
I wasn't deliberately trying to capture motion, it just happened to be that the tree was swaying, and the power line was bouncing up and down in the breeze. If you look closely at the left of the frame, you can also make out two power poles on the skyline.
It was a bright sunny day, and my vintage light meter read 13ev with the shutter closed, which is nearly off the scale, so I had to place a stack of things on the front of the lens to reduce the amount of light enough that I didn't get a blown out image. After some experimentation, I ended up with: an ND400 filter, and an adapter with a manual aperture set to about 14mm diameter... I'm probably going to have to buy some more ND filters if I want capture swirly bokeh, or be very selective with lighting conditions.
I used a random black cloth as a light shield. It's thin and light, so it doesn't put a lot of stress on the equipment, it works in low light situations, but in the bright sunlight, I had to stack sheets of cardboard in front of it.
Finally I cropped the image, rotated it, and since it was backwards, corrected it by flipping. And added the text.
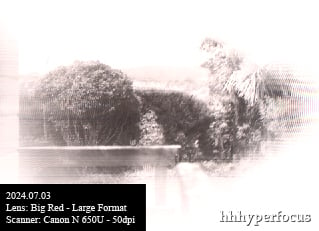
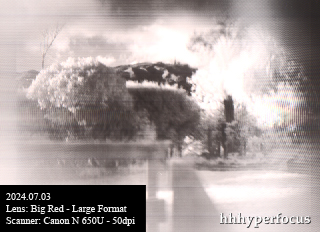
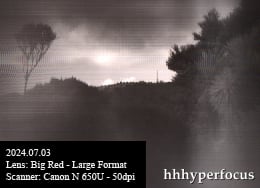
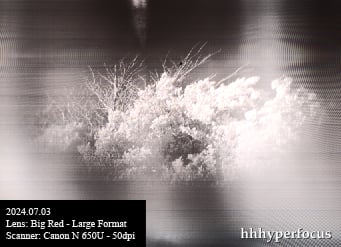
2024.07.03 I took the camera to garden with the intention of doing some portraits. But it took so long to set up and adjust that I only managed to get photos of the garden, and the tower on Mt Kaukau. It's much harder to work outside in the cold with the wind blowing the cloth, and it took so much concentration to see the laptop screen that I took all the photos at 50dpi, and forgot to set it back to 600dpi.
I have a fresnel lens that has a focal length of about 400mm, which I placed on the glass behind the main lens. It wasn't as successful as I'd hoped. It does dramatically increase the area of the image that I can scan, but it's still heavily vignetted in the corners. Also, the centers of the two lenses aren't aligned. I intend to move the main lens out over the center of the scanner.
Very cool. I like the vertical black lines, it looks like a film reel from an old movie that has been scratched going thru the projector.
Wow, that is all very valuable information, thank you. I feel a lot more confident attempting the surgery on the electronics now.
I had a thought about going from bw to colour. If should be possible to capture the same scene 3 times, each time with a different colour filter in front of the lens. Then merge the 3 images together as colour channels in Photoshop or similar. The filters will reduce the amount of light picked up by the sensor, which will help a bit on bright sunny days, but will require more light in a studio. Also, in a low light situation, it could be possible to capture a fourth scan with no filter, and use it for brightness information. I'm not exactly sure how to do that, but I know some cellphones use that trick.
Edit: But I also like your idea of tapping the signal to trigger external lighting.
I love your post, I've been thinking of ways to capture images from large format lenses, and you inspired me to start experimenting with flatbed scanners.
I'm using a Canon N 650U because I had one lying around. I haven't modified it, so the light source still exists.
I'm genuinely surprised how easy it is to get an image. I experimented by putting the scanner directly under the ceiling light in my kitchen, and I can hold the lens over the flatbed and see the image forming well enough that I can get it into focus. Then just hit the scan button and tada, one image of a ceiling lamp. I didn't need to dismantle the scanner, or use a gg screen or anything. It just works with the scanner and the lens.
Since then I've rigged up a system to hold the lens in place, and a slider to move it up and down to focus. And I drape a cloth over everything to keep stray light off the sensor.
Exposure is difficult. My large format lenses don't have any aperture control, so I either have to build one, or use an ND filter. Or if I don't have enough light, I add more continuous light sources.
I saw your comment about vignetting, but I didn't understand it at the time. I've mostly been experimenting with a lens that creates a 100mm image circle, and it works fine. But with another lens, I've just tried to scan the entire A4 surface, and the corners are black with a small image in the centre, even though I can peer under the curtain and see a nice bright image from the lens that covers the whole flatbed. I concluded that the sensor will only accept light from one direction, and can't see light arriving from an angle. So, yeah I'm considering surgery to fix the aperture slit in front of the sensor. I don't really know what to expect when I open it up. Did you find it easy to remove and modify? Can you offer any advice before I get elbow deep in scanner parts?
Also, my images all come out in black and white, which is weird. Objects sitting on the glass come out in colour, but the image formed by the lens scans in black and white only.
The whole rig is too heavy to pick up right now, so I mounted a little mirror on top, so I can point it anywhere, lol.